
You click a link. The loading bar freezes. Then, the dinosaur appears.
Few things ruin a workflow faster than a connection error. The message DNS Server Not Responding looks scary, but it usually points to a simple misconfiguration.
We wrote this guide to help you fix the immediate problem. We also want to teach you how the Domain Name System works so you can build a better network in the future.
Understanding The Invisible Phonebook
Computers do not speak English. They speak in numbers. When you type freedombone.net into your browser, your computer needs the IP address of the server hosting that site.
A DNS server acts as the phonebook of the internet. Your computer asks the server for the number associated with a domain name. The server replies with an IP address, and your browser loads the page.
This process happens in milliseconds. When the DNS server fails to reply, your computer does not know where to go. You have a working internet connection, but you cannot find any websites.
Why This Error Happens
The breakdown usually occurs in one of three places.
First, the DNS server itself might be down. This happens often with the default servers provided by Internet Service Providers.
Second, your router might be confused. It acts as a traffic cop, and sometimes it drops the request before sending it out.
Third, your local computer cache might hold outdated information. It tries to connect to an old address that no longer exists.
Phase 1: The Quick Checks
Do not open the command line yet. We start with the physical layer and simple software checks.
Switch Your Browser
Chrome might act up while Firefox works perfectly. Open a different browser and try to visit the same website. If it loads, the problem lies within your browser settings, not your network.
Test Another Device
Grab your phone. Disconnect from mobile data and use the Wi-Fi. If your phone loads the page but your laptop fails, you know the issue is specific to your computer. If both fail, the problem sits with your router or ISP.
The Power Cycle
It sounds like a cliché, but it works. Routers run complex software that can crash or leak memory over time.
Unplug your router power cable. Wait fully for thirty seconds. Plug it back in and let it boot up completely. This forces the device to clear its temporary memory and re-establish a fresh connection with your ISP.
Phase 2: Clearing The Corrupted Data
Your operating system saves DNS results to speed up browsing. This is called the DNS Cache. Sometimes, this cache gets corrupted or stores old data. You need to flush it out.
Flush DNS On Windows
You can do this in ten seconds.
Click the Start button. Type cmd. Right-click Command Prompt and select Run as administrator.
Type the following command and hit Enter:
ipconfig /flushdns
You will see a success message. Try loading the website again.
Renew Your IP Address
Sometimes your local IP address causes conflicts. You can force your router to assign you a new one.
Return to your Command Prompt window. Type the following commands one by one, hitting Enter after each:
ipconfig /release ipconfig /renew
Your internet will drop briefly. Once the text stops scrolling, you have a fresh local configuration.
Flush DNS On macOS
Mac users have a slightly different process. Open Terminal by pressing Command + Space and typing Terminal.
Type this command and press Enter:
sudo dscacheutil -flushcache; sudo killall -mDNSResponder
You will need to type your password. The system will not show characters as you type the password. This is normal.
Phase 3: Changing Your DNS Provider
Your Internet Service Provider (ISP) assigns you a default DNS server. These servers are notoriously slow, unreliable, and often track your browsing history.
Changing to a public DNS provider fixes the connection error and speeds up your browsing.
Choosing A Provider
Google (8.8.8.8) is the most popular choice. It is fast and reliable.
Cloudflare (1.1.1.1) focuses on privacy and speed. We generally recommend Cloudflare for home users.
Changing DNS On Windows
Click Start and open Settings. Go to Network & Internet.
Click on Change adapter options. Right-click your active connection (Wi-Fi or Ethernet) and select Properties.
Find Internet Protocol Version 4 (TCP/IPv4) in the list. Double-click it.
Select Use the following DNS server addresses.
Enter these numbers for Cloudflare: Preferred DNS server: 1.1.1.1 Alternate DNS server: 1.0.0.1
Click OK to save.
Changing DNS On macOS
Open System Settings. Go to Network. Click on your active connection and select Details.
Click the DNS tab on the left.
Click the Plus button to add a new server. Type 1.1.1.1 and press Enter. Add another one for 1.0.0.1.
Click OK and Apply.
Phase 4: Advanced Troubleshooting
If you still see the error, we need to dig deeper. These steps rule out software conflicts and driver issues.
Disable IPv6
The internet is moving to IPv6, but the transition is messy. Many older routers and network cards struggle with it, causing DNS timeouts.
Go back to your Network Connections window in Windows. Right-click your adapter and hit Properties.
Look for the checkbox next to Internet Protocol Version 6 (TCP/IPv6). Uncheck it. Click OK.
This forces your computer to use the older, more stable IPv4 standard.
Update Network Drivers
Outdated drivers cause compatibility issues.
Right-click the Start button and select Device Manager. Expand the Network adapters section.
Right-click your Wi-Fi or Ethernet adapter. Select Update driver. Choose Search automatically for drivers.
Windows will attempt to find a better version. If it fails, visit the manufacturer’s website for your laptop or motherboard to download the latest files manually.
Check Your Antivirus
Strict antivirus software sometimes blocks valid DNS requests. It thinks the server looks suspicious and cuts the connection.
Temporarily disable your firewall or antivirus protection. Try to load the webpage. If it works, you need to add your browser to the whitelist in your security software settings.
Phase 5: The Permanent Solution
fixing the error on your laptop is good. Fixing it for your entire house is better.
We believe in taking back control of your network. Relying on Google or your ISP for DNS limits your privacy.
Configure DNS At The Router Level
You can apply the DNS changes mentioned above directly to your router. This pushes the fix to every device in your house, including smart TVs and game consoles.
Log in to your router’s admin panel (usually 192.168.1.1). Look for WAN Settings or Internet Setup. Find the DNS section and enter the Cloudflare or Google IP addresses there.
Build Your Own DNS Server
This is the ultimate step for any Freedom Node enthusiast. You can run your own local DNS server using software like Pi-hole or AdGuard Home.
A local DNS server gives you total control. You block ads for the entire network. You stop trackers from harvesting your data. You cache requests locally, which makes loading websites instant.
This project runs perfectly on a cheap Raspberry Pi or an old computer. It turns a simple “fix” into a major upgrade for your digital life.
Final Summary
The “DNS Server Not Responding” error stops you in your tracks, but you now have the tools to beat it.
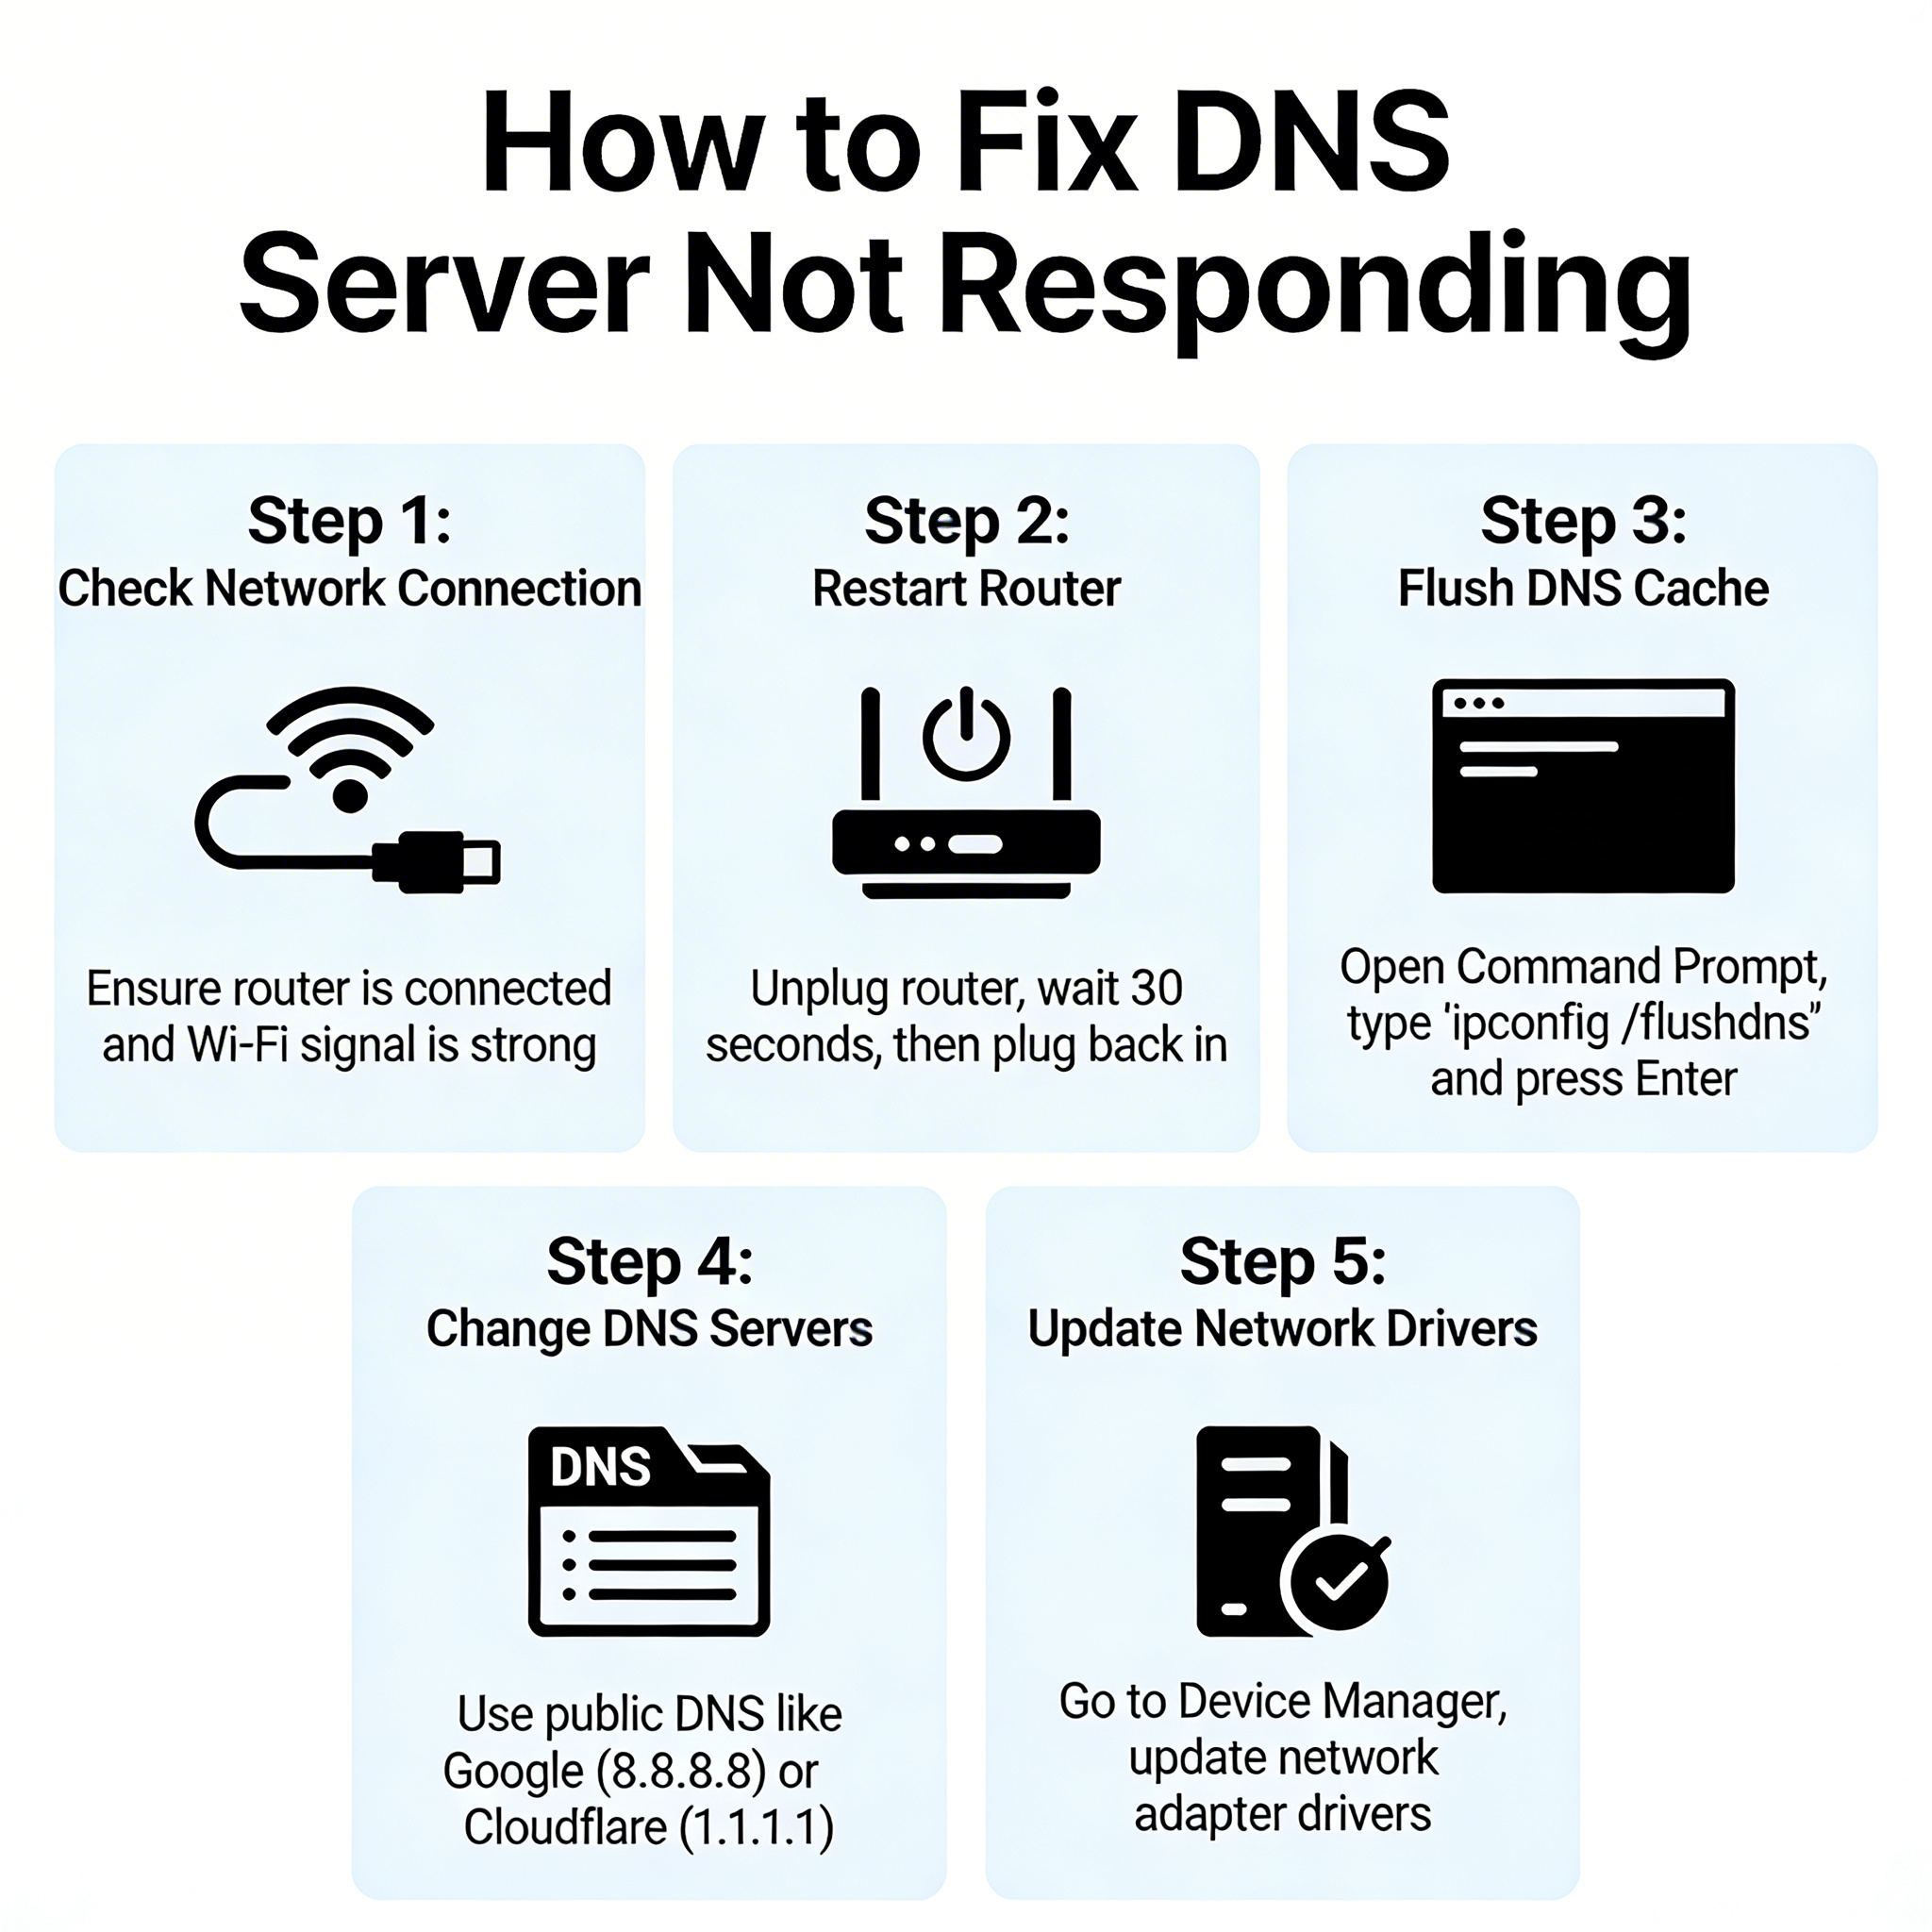
Start with a router restart. Flush your DNS cache. If that fails, switch to a reliable provider like Cloudflare.
Do not just accept network failures. Use them as an opportunity to learn. Every error you solve brings you closer to becoming a true system administrator.